About a year ago I had the wonderful opportunity to put together a computer at work. Originally I had been considering a Macbook Pro, however the 2018 models still have terrible keyboard issues and Apple has done a bad job of taking the issue seriously. If you ask anyone who knows me they will tell you how seriously I take quality keyboards. Which is why I get really weird looks whenever anybody sees my Ergodox keyboard. The market for alternative laptops was also not getting my hopes up. Plus I would have to ditch macOS if I went that route which I have come to enjoy using more and more over the years. I could have tried to hackintosh a laptop, but did not care for restrictions and bugs. Ultimately I decided I would use my 2015 Macbook Pro as my daily note taker and for everything else (development) I’d use a desktop.
The desktop needed to be powerful, and also compatible with components that would run macOS Mojave with relative ease. Additionally I had some 2.5” SSDs and an M.2 lying on my desk. This let me plan a multiple OS system, so I could boot Windows 10 and Ubuntu 18.04 in addition to macOS. This was especially convenient as the development I do is cross platform. I planned four different builds on PC Part Picker and considered my options for over a month. After grueling analysis and waiting for the right price drops I executed the purchase for all of the components.
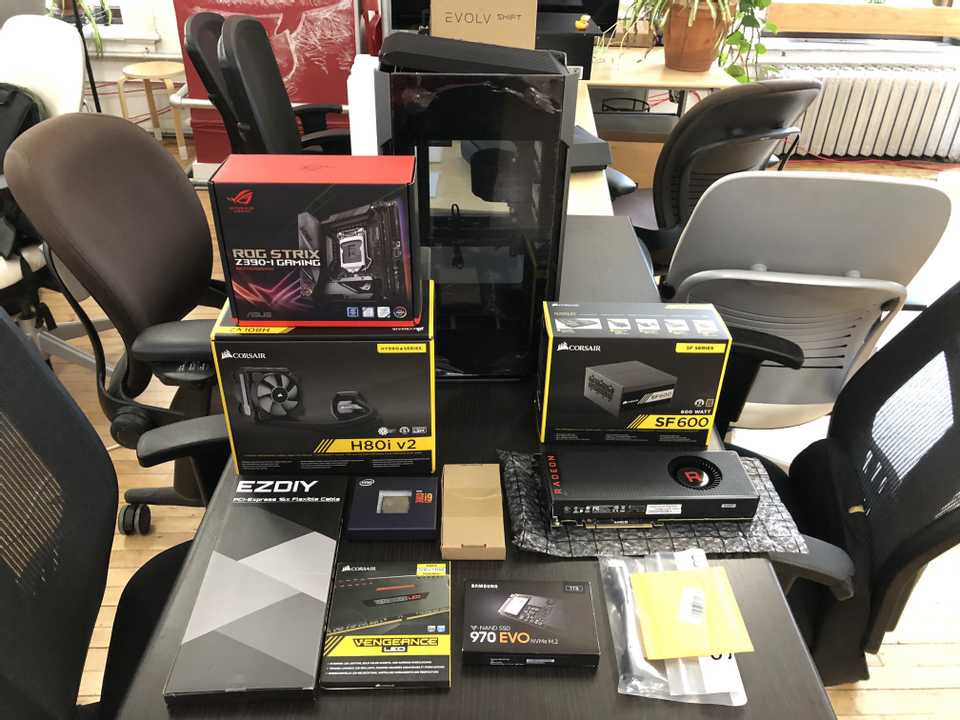
What you might imagine Christmas at Bill Gates’ house looks like
Processor
At the time the Ryzen 9 had not yet been released, and wouldn’t be released for another six months. But even if it was out, Intel CPUs are generally easier to work with in hackintosh builds, as they work out of the box. I took a look at Intel CPUs that came out recently, and fortunately the i9-9900K had been released while I was doing my research. This CPU was affordable and would get me the performance I was looking for. With 8 Cores and 16 threads I would get to spend significantly less time compiling my Elixir applications. The other processor I considered was the i7-8700K, it is a really decent choice, but ultimately I wanted that extra push from the i9. You can see a benchmark comparison here of these three processors. While idle the liquid cooled CPU can dip below 30° C and full load across all cores (Video Transcoding) gets it to about 59° C.
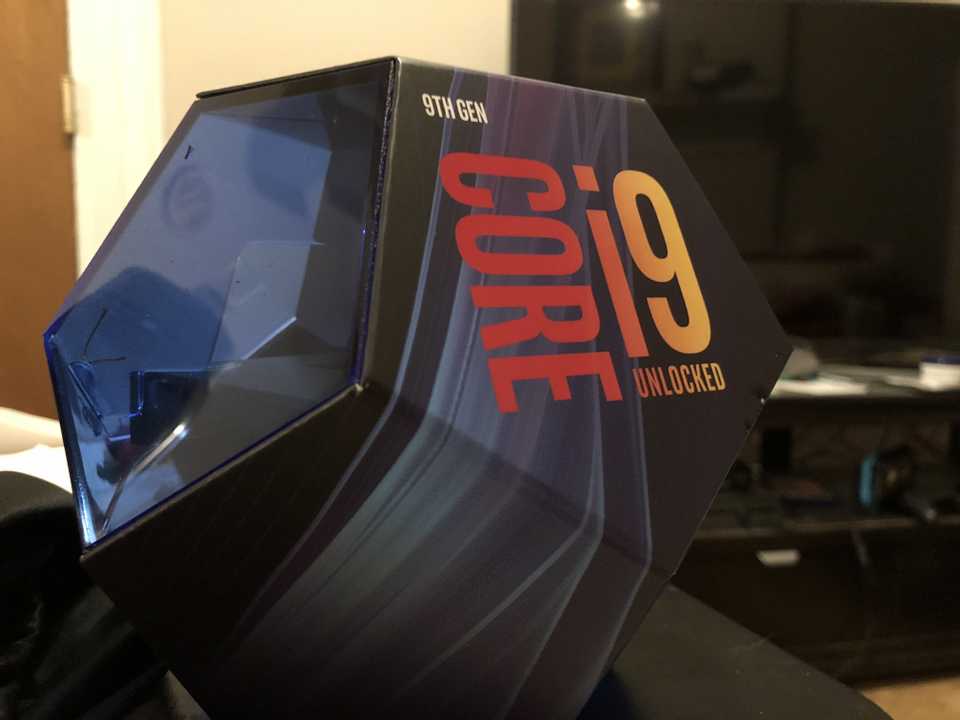
Pretentious Intel packaging
Motherboard
With the idea that I was going to use an Intel based processor, I started looking at what motherboards could work well in a Hackintosh today. InsanelyMac has some great resources I took advantage for this. The consensus was that the Intel Z370 chipset motherboards were working great across the board, but they wouldn’t be able to drive my i9. The next chipset was the Z390, but a lot less success stories were told with this motherboard at the time. Even today the Z390 motherboard doesn’t have NVRAM support, so if that is something you really want/need I would avoid it. However, for my purposes NVRAM could be emulated, and so I decided on the Asus ROG Strix Z390-i motherboard. It has the small form factor I want and supports two M.2 SSDs. Additionally this motherboard had onboard WiFi and Bluetooth, but the built-in Intel chip would not work out of box, so I would have to come up with another plan if I wanted a WLAN.
Motherboard arrival and unboxing
Storage & Memory
These components were the easiest to choose. Getting a good NVME drive is not a difficult task, and memory prices have been steadily decreasing. 2019 has been a good year to buy storage and memory in my opinion. Unfortunately I bought all these components right on the cliff in 2018, but I wasn’t the one paying so it wasn’t a big deal to me. I had some spare drives on my desk I was planning on using so I went with some SSDs, a Samsung 1TB 970 Evo NVME SSD and 2x Corsair 16GB DDR4-3200 RAM. In total the computer has around 2 TBs of SSDs, and 32 GB of RAM.
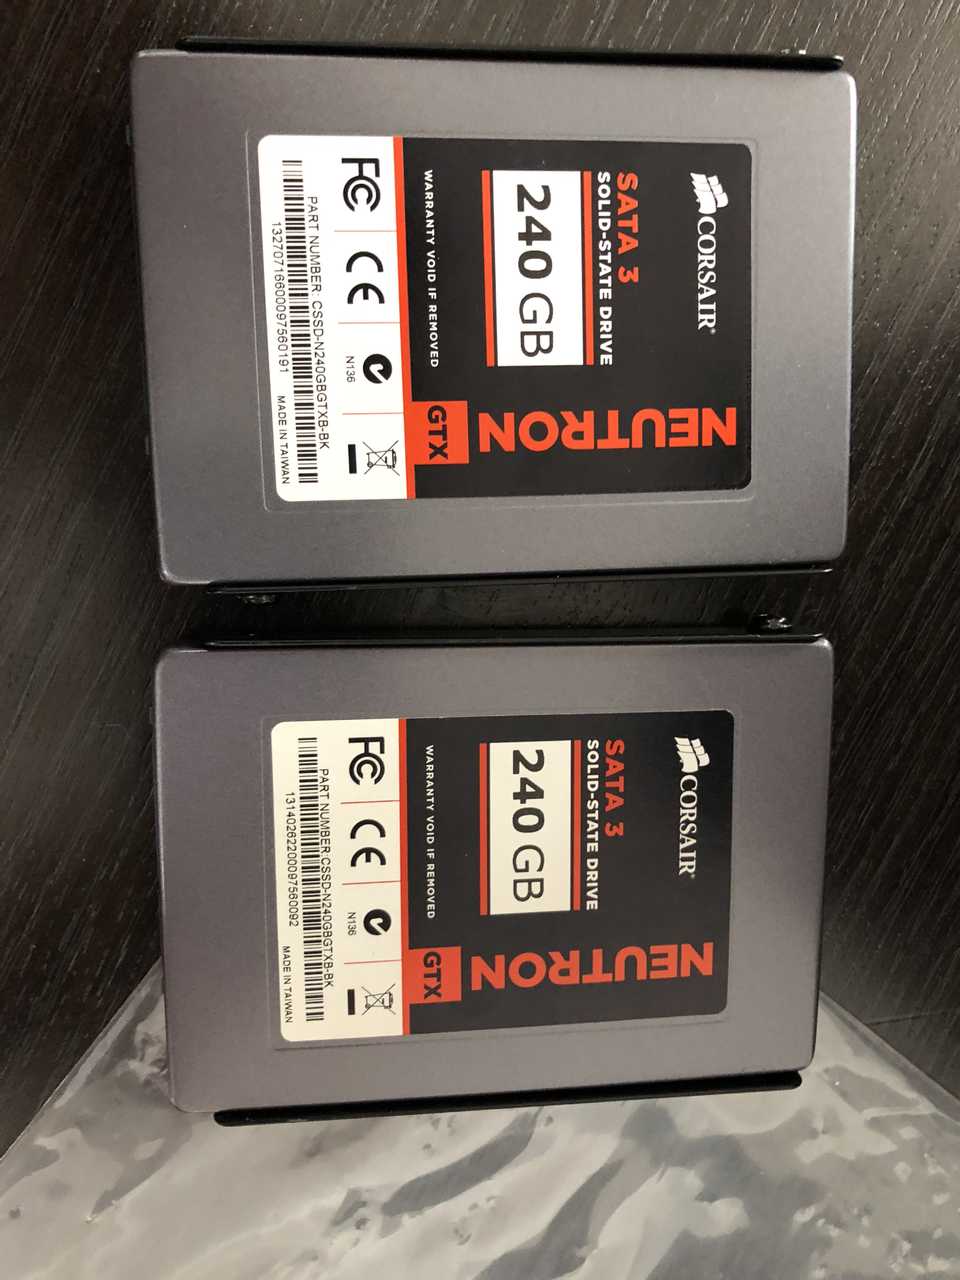
Spare solid state drives
Graphics Processor
Originally I planned to use a Radeon Vega 64 in this build, and I tried. But the GPU was behaving oddly (later I would find out this was due to the Phanteks PCI-E Extension cable). Additionally the case I got was tight, and has pretty awful ventilation. My temperatures aren’t horrendous, but I think the GPU definitely suffers in this case more than is necessary. If you are considering a dedicated GPU for a build in this case I recommend getting a blower style model, as those will fair much better with this layout. Ultimately I ended up going with a Sapphire Pulse Radeon RX 580. This GPU is highly compatible with macOS and is not very expensive at the moment. Despite having the standard fan layout, my temperatures are around 33° C idle and 45° C for a medium load. Stress tests can get the GPU up to 70° C, but those do not represent normal usage at all for a dev machine.
Sapphire RX 580 fitting nicely in the Phanteks Evolv Shift case
WiFi & Bluetooth
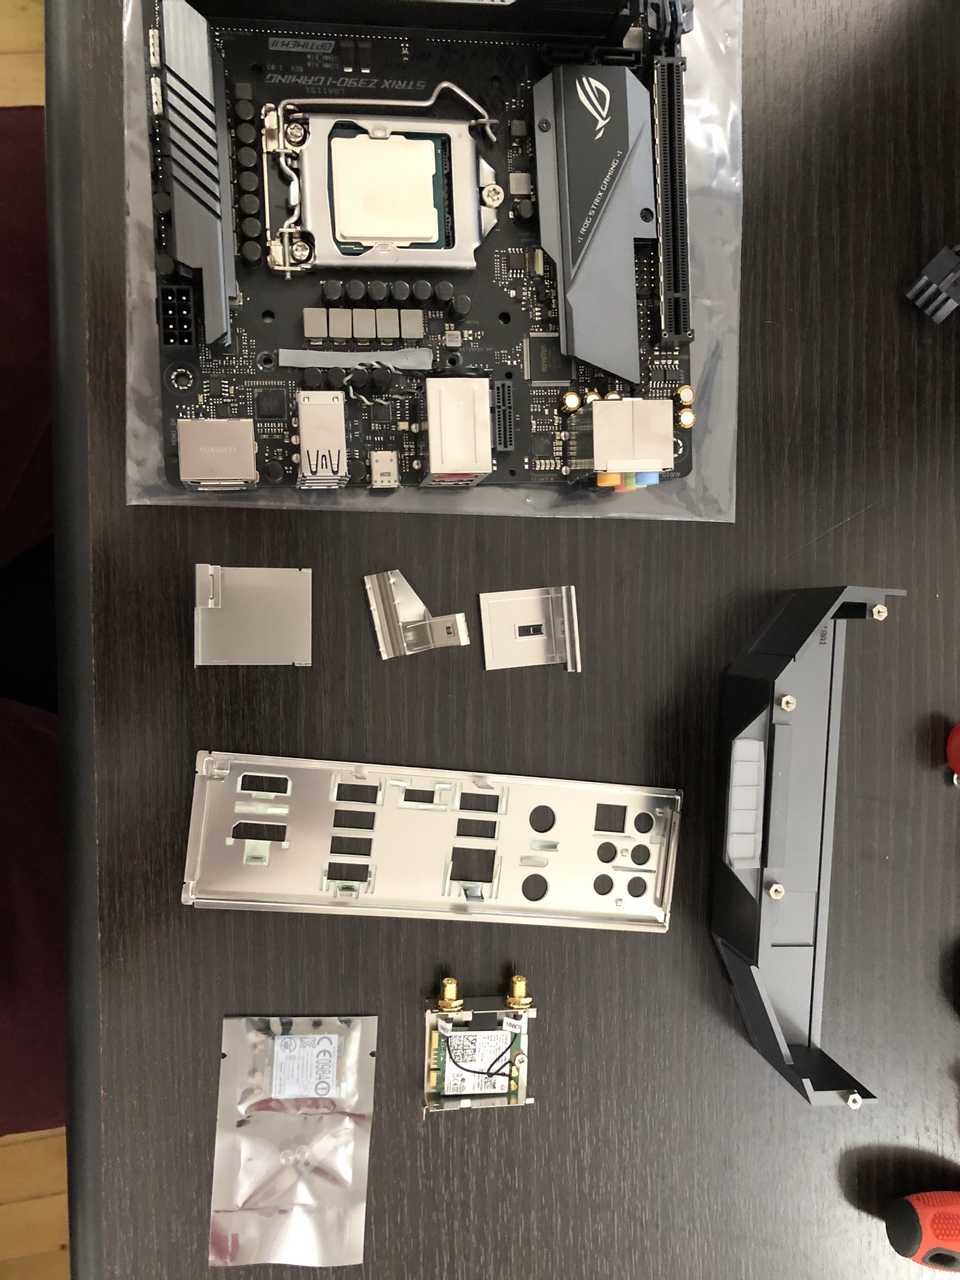
The Z390i motherboard came with onboard WiFi and Bluetooth, even boasting AC and Bluetooth 5.0 support. Unfortunately this chip does not work with macOS at this time, and may never. So instead of waiting I went searching for an equivalent WiFi/Bluetooth module that I could swap with the one hidden below the motherboards heatsinks. The Broadcom BCM94352Z was the perfect fit, I recommend the Lenovo or Dell DW1560 models as they can be found for a little cheaper. Taking the motherboard apart and then the wireless casing was definitely not for the faint of heart, if you haven’t modified a motherboard before, I would probably avoid it and pay someone else to do it.
Disassembled motherboard prior to WLAN replacement
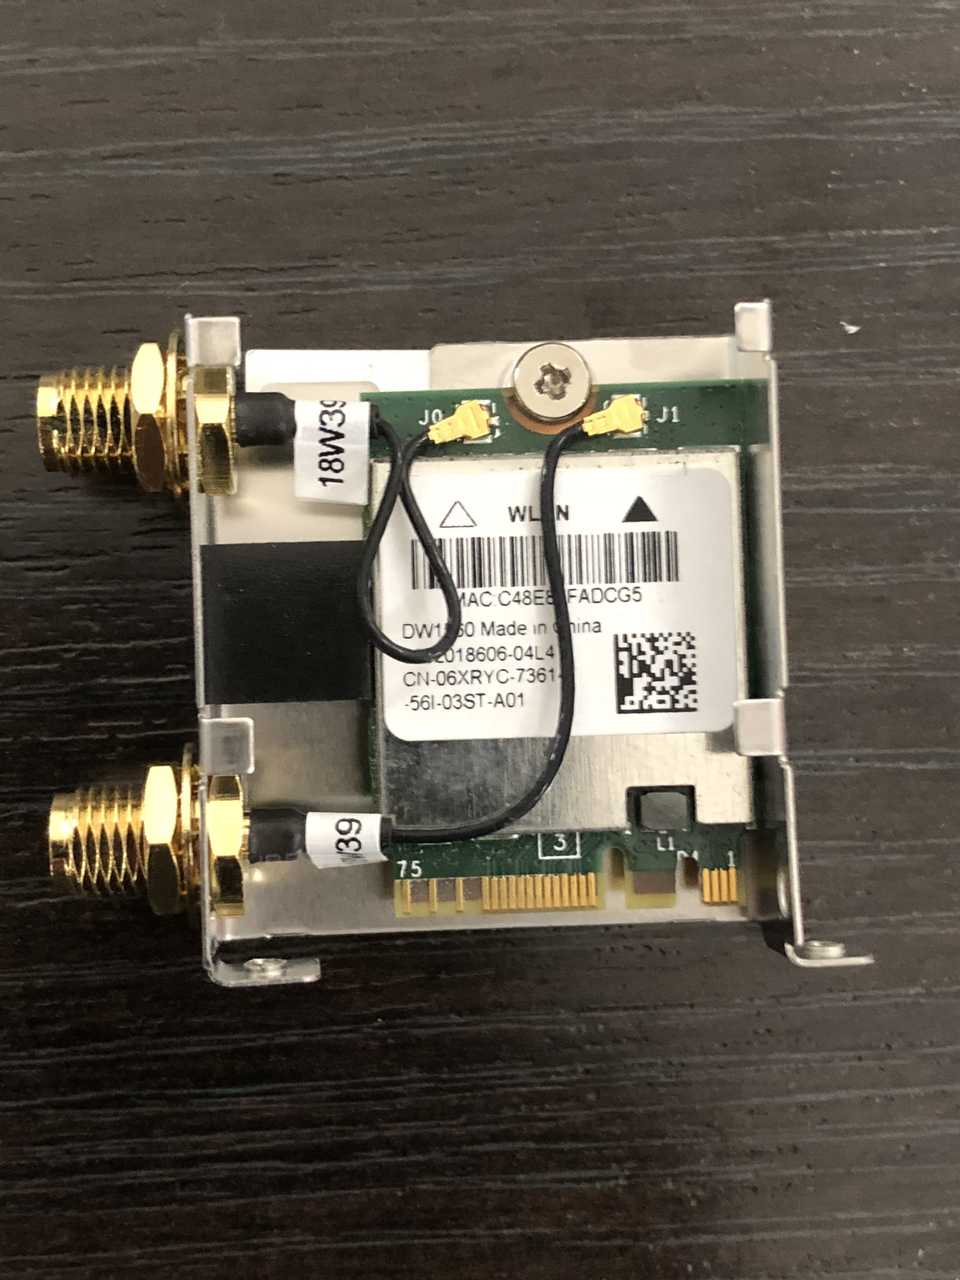
After replacing the onboard chip, WiFi and Bluetooth worked great. macOS required some Broadcom kexts (AirportBrcmFixup and BrcmBluetoothInjector) for use if you decide to go this route, but it is not very difficult to get setup. This meant I could even use macOS features such as Continity, Handoff, and Apple Watch Unlocking on Mojave. Ubuntu and Windows also liked this chip, and required no additional drivers or setup on my part.
New WLAN fitting snug in our enclosure with antennae connected
Case & Cooling & Power
I knew this build was going to be small, since I chose the ITX motherboard above. I came across the Phanteks Evolv Shift Mini ITX Tower case. It seemed perfect for my build, although some of the reviews warned about heating issues. I went with a Corsair H80i v2 liquid cooling block for the CPU to attempt to counteract the lack of fans that would fit inside. The temperatures remain fairly low, and I am pretty happy with the benchmarks I get from the machine. Unfortunately the biggest let down was the riser that came with this phanteks case. It is extremely low quality, and ultimately I ended up using a dremel to cut the riser mount so I could install a higher quality thermaltake one. This case is really gorgeous and small, but I probably would go with something else if I was to start from scratch. It was difficult to work in, and that riser gave me a huge headache, since of course I was blaming the GPU for any graphical issues I was experiencing at first. For power I did not find many options, especially in such a tight case. The Corsair SF 600W was high quality, and modular which is vital when working in a case like this. The H80i I received actually crapped out on me during the first week of tests. Fortunately the reseller worked with me to replace the broken part, and now the CPU is being cooled just fine.
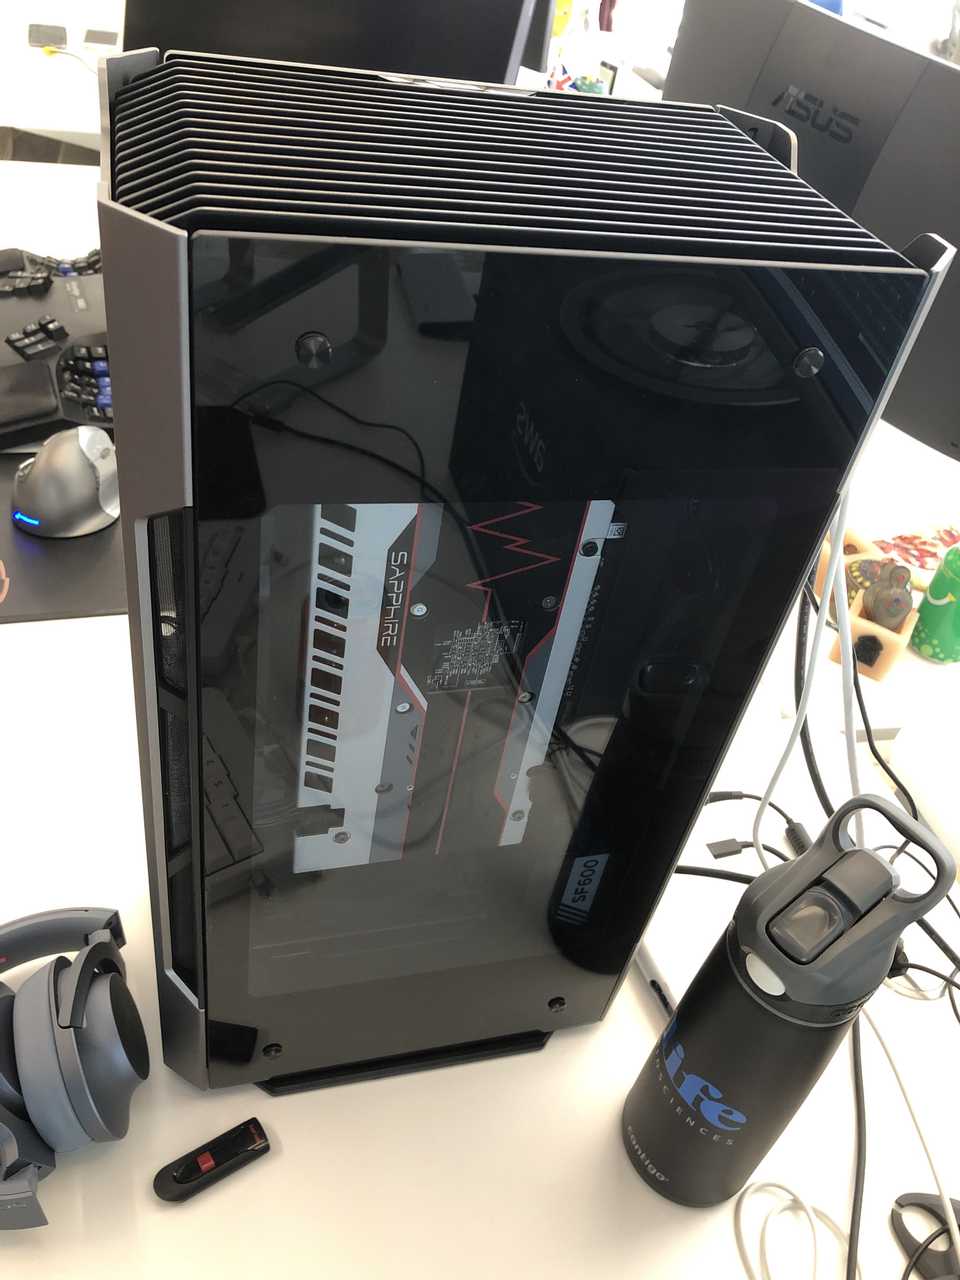
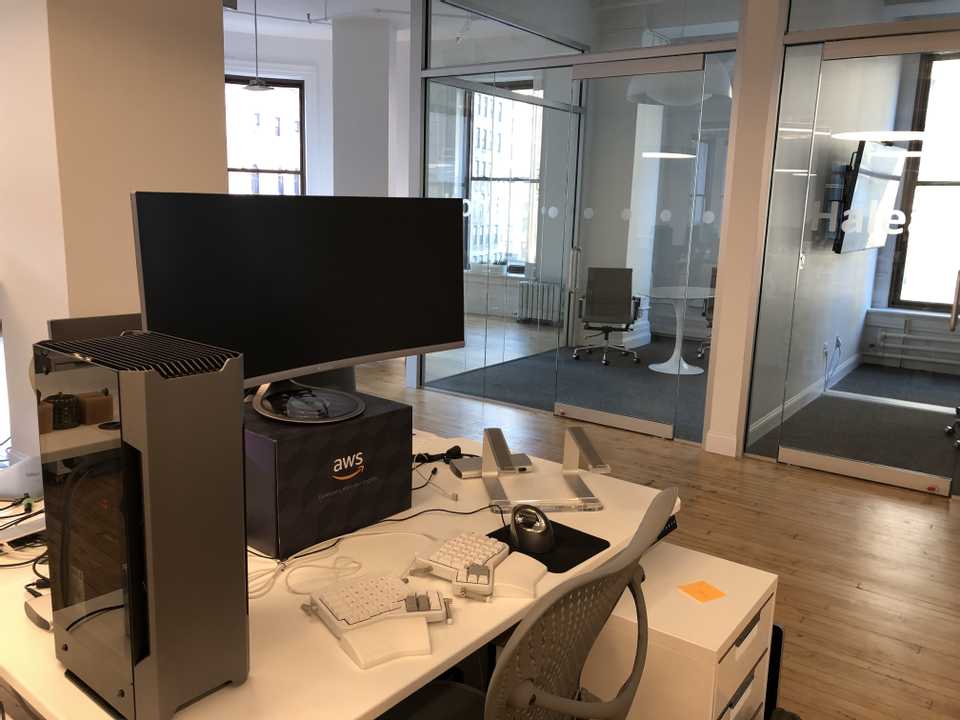
Getting the machine setup in a new office space
Results
This computer is a beast, it really is significantly better than any Macintosh I have used. The new Mac Pros are coming out, and the specs will surely beat this machine I have put together when they do. However, looking at my PC Part Picker List of components, as of writing the price is less than $1,500.00! It is difficult to find even a good Macbook for that price. The price to performance ratio here is pretty mind blowing, and I would highly recommend going this route instead of buying an overly priced Mac if you have the know-how.
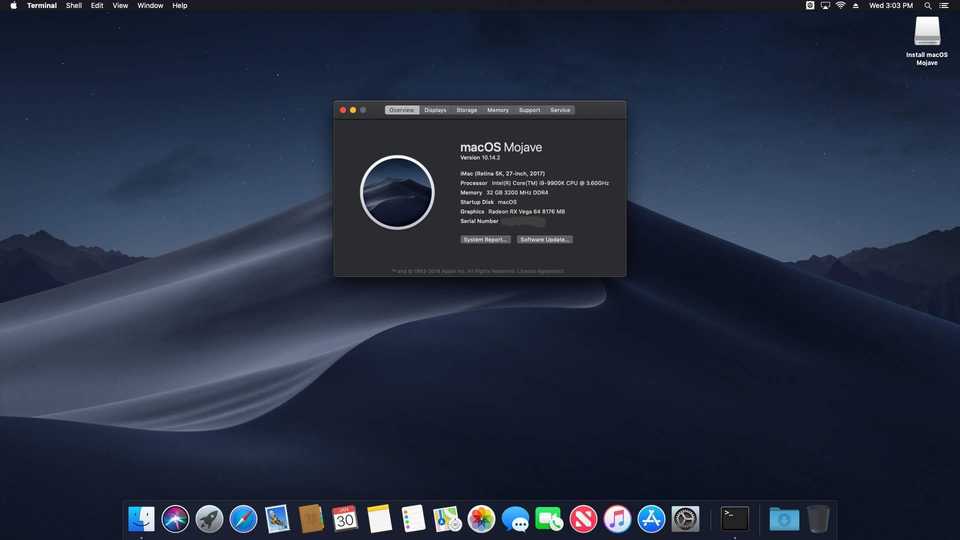
System details after my first boot into mojave
Since you may have come across this looking for how to setup a similar build, here is a link to the EFI directory. I am using macOS 10.14.6 as of August 2019 with this EFI. If you have any questions about the setup or steps you need to take feel free to ask.
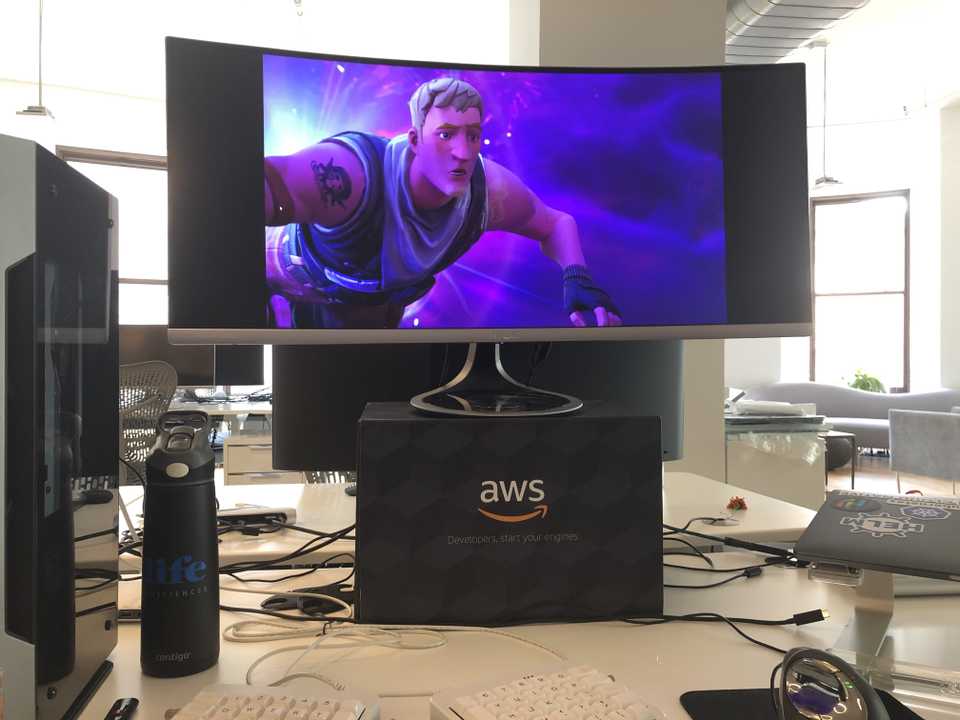
Last but not least, it can even run fortnite!
