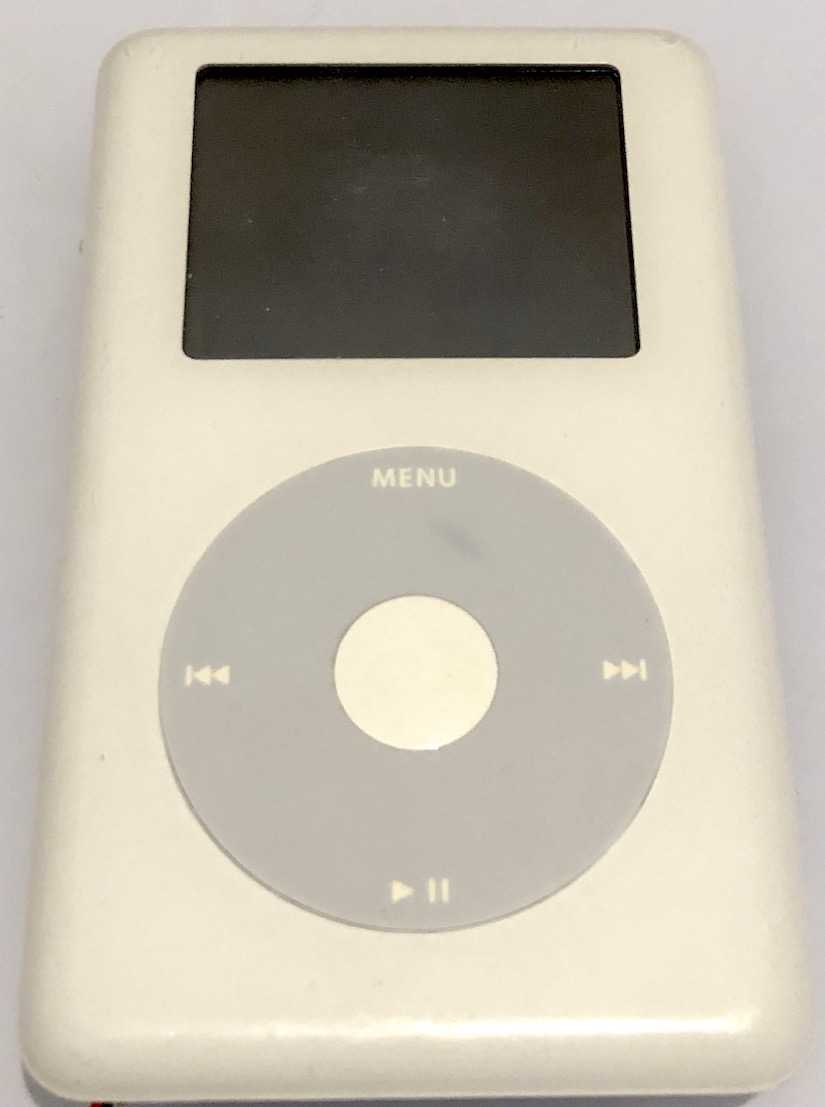
I’ve always had my hand in electronics since I was a kid, digging through boxes and finding some old device, such as a Camera that was five times my age. My curiosity always got the best of me, and I’d end up with a table full of parts by the end of the night, trying to determine which one was preventing the device from functioning. I found myself recently experiencing this same child-like adventure, after unpacking a box of old electronics in my basement. I came across an old iPod 4th Generation, and after rummaging around for a cable, and painfully waiting to see if the battery still functioned, I discovered that it was in fact dead.
Research
To begin diagnosing the problem, I decided I would charge it for 5 hours, unplug it, and then let it rest for 30 minutes. Then finally, charge for another 5 hours. After having completed this cycle, I held down MENU + SELECT simultaneously, and I could hear the disk spinning up and down. With each “wurr” of the hard drive, it was as if it was attempting to come to life, but could not. The screen was blank and soulless, and I wasn’t quite sure exactly how a 20 year old device that held the secrets of my childhood playlists could possibly function again.
I was relatively sure that the hard drive could be fixed, and that the battery had some amount of juice in it. I assumed that either the headphone jack was broken (since if it was stuck in HOLD it would not respond to button presses), or that the clickwheel itself had malfunctioned. Additionally, the screen was not turning on, and did not show a charging indicator. So I knew something else must have been wrong. To determine what exactly was going on, I would have to find a way to open the iPod and diagnose the issue further.
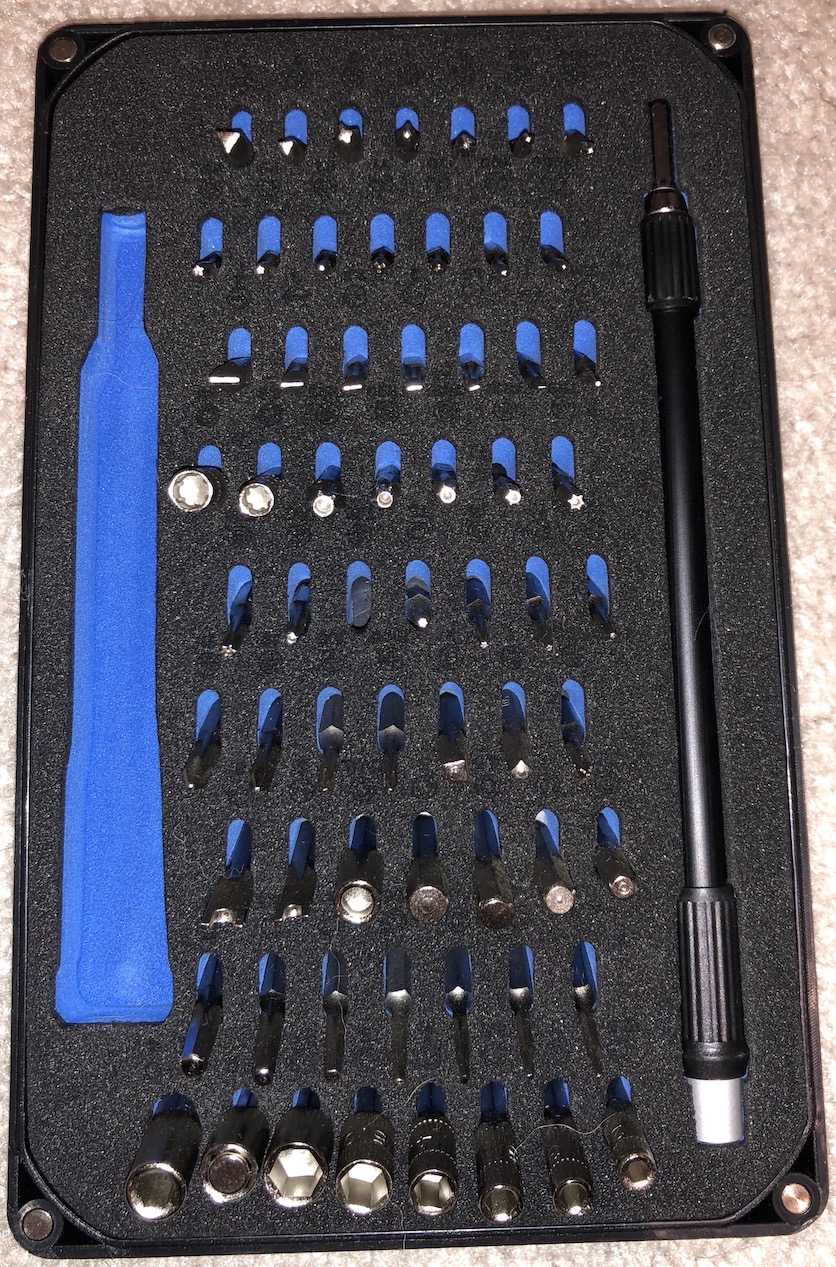
Fortunately, this is not the first time I have attempted a fix like this, and I have some great tools I’ve collected over the years from upgrading phones or fixing electrical tools. iFixit’s Mako Driver Kit ($35 at the time of writing), is a wonderful bit set that I find invaluable for these types of tear downs of small devices. It has so many different bits, and I’ve used it now to repair, chainsaws, phones, consoles, handhelds, speakers and more.
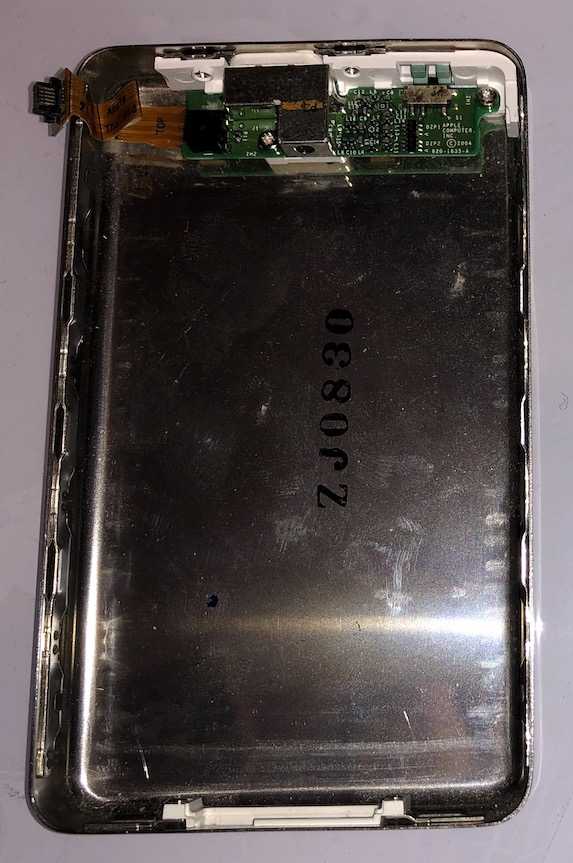
Opening the iPod required finding a thin jig, ideally made of plastic and not too hard. I ended up using a couple guitar picks and some old SIM cards to release one of the 12 tabs holding the front face plate in its casing. This avoided damaging the aluminum back that holds onto the faceplate. Be extra careful if you are attempting this, as it can require a lot of force, and you may require something sharp to release the tabs. With a lot of elbow grease and prayer, I was able to dislodge the faceplate from the aluminum backplate without any damage.
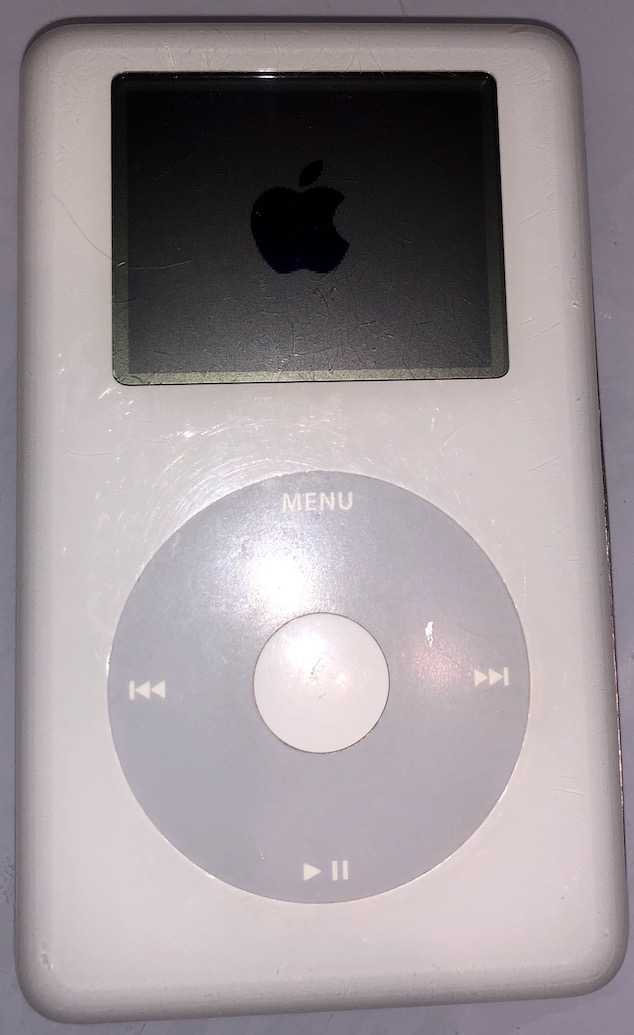
As soon as the faceplate was removed, I noticed a major issue. The headphone jack was disconnected from the main board, and the wire itself was missing entirely. What happened to it, I will never know, likely only 14 year old me knows the answer to that mystery. Since my iPod 4G was a A1059 model, I would need to find a 632-0260 cable for my headphone jack. I used a multimeter to verify the battery was functional, and also tested the other iPod components. After reseating the cable that connected to the display, I was able to get a picture, showing the device was charging. A small victory, but still I would not be able to use the clickwheel or headphone jack without further diagnostics, and while the battery was functional it was not holding a charge.
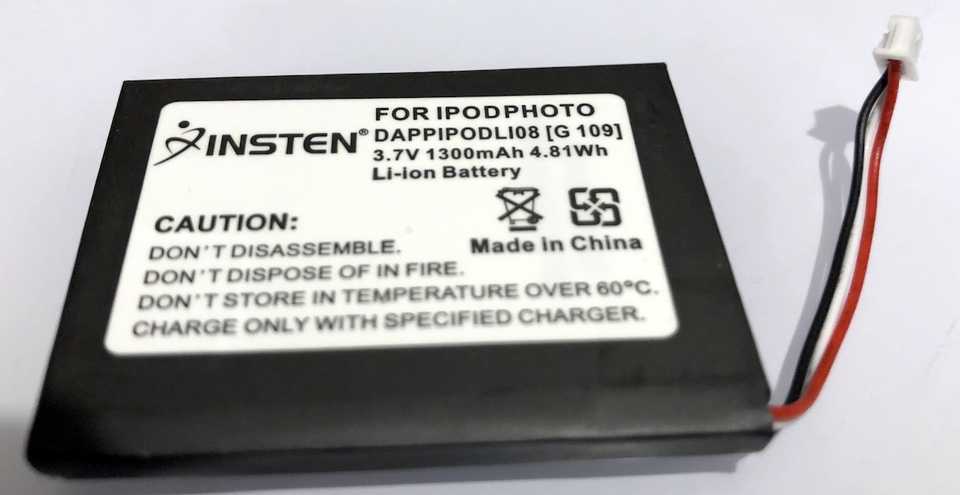
After surfing the web for a while, I came across a great resource called Elite Obsolete Electronics, where iPod 4G replacement parts are readily available for purchase. The headphone jack has three options to choose from, I went with the Flex Cable Only option, since my headphone jack appeared to be okay. Additionally I added a 1300mah Li-ion replacement battery to my cart, since it would be nice to actually be able to use the device once repaired.
Repair
Once the cable and battery arrived I began surgery. Installing the flex cable was pretty simple, just take it out of the static bag it came in, and slide it in to the port on the left side looking into the internals of the iPod. If you are repairing the entire headphone jack, you need to remove the 3 screws holding the entire electronic to the top of the aluminum backplate instead.
Installing a new battery is more difficult however. As the wires are snaked underneath the motherboard, and the battery itself is adhered with a strong glue to the faceplate on top of the clickwheel.
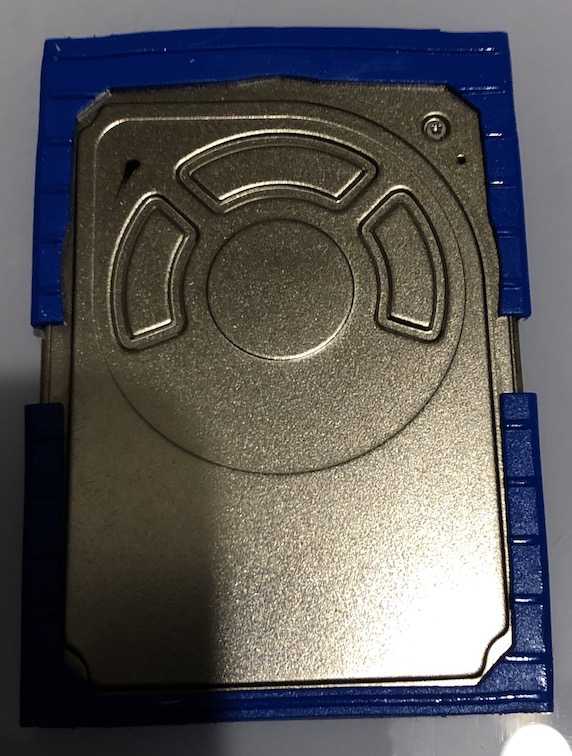
First I removed the 20 GB hard drive.
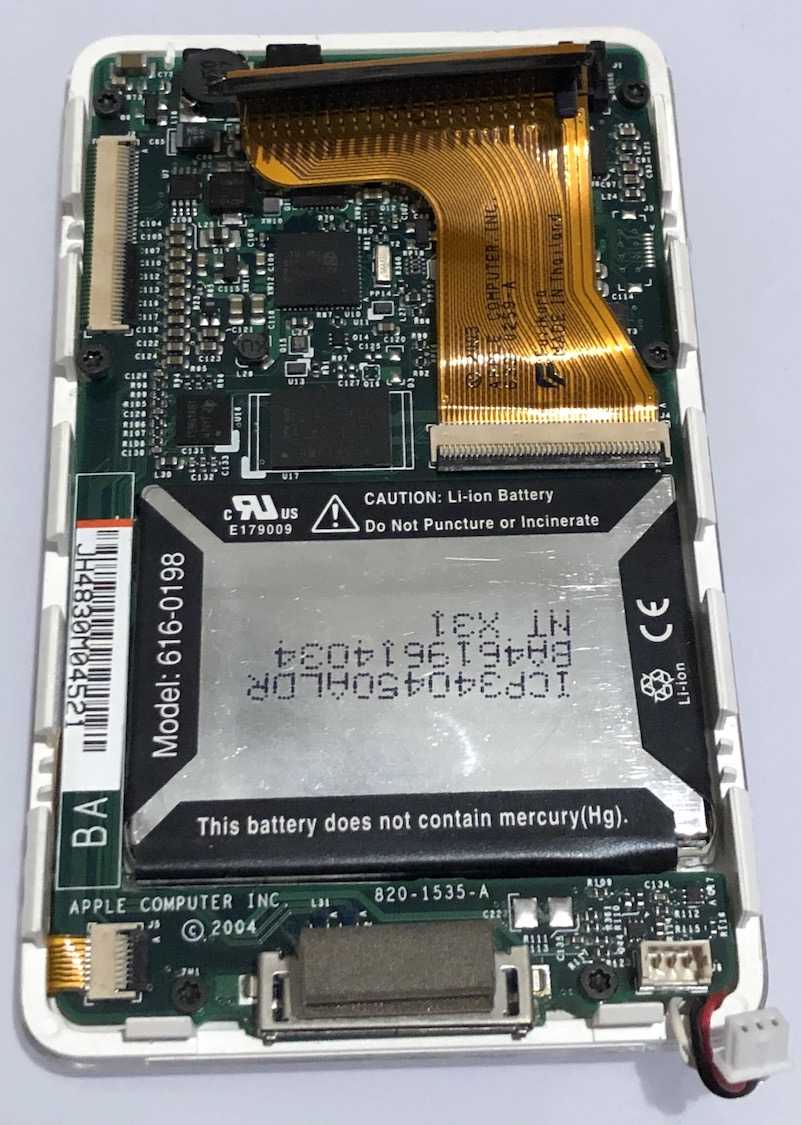
This gave me access to the rest of the motherboard, and I went ahead and disconnected the battery. Be careful when doing this, as the battery cables are not that strong, I recommend using something thin, or even small needle nose pliers to lift straight up and away from the board. I also removed the display connector (ended up having to replace the clasp on this connector, as it was partially damaged) and clickwheel connectors on the left hand side of the motherboard.
After those connections were removed, I was able to pull out the entire motherboard and set it aside.
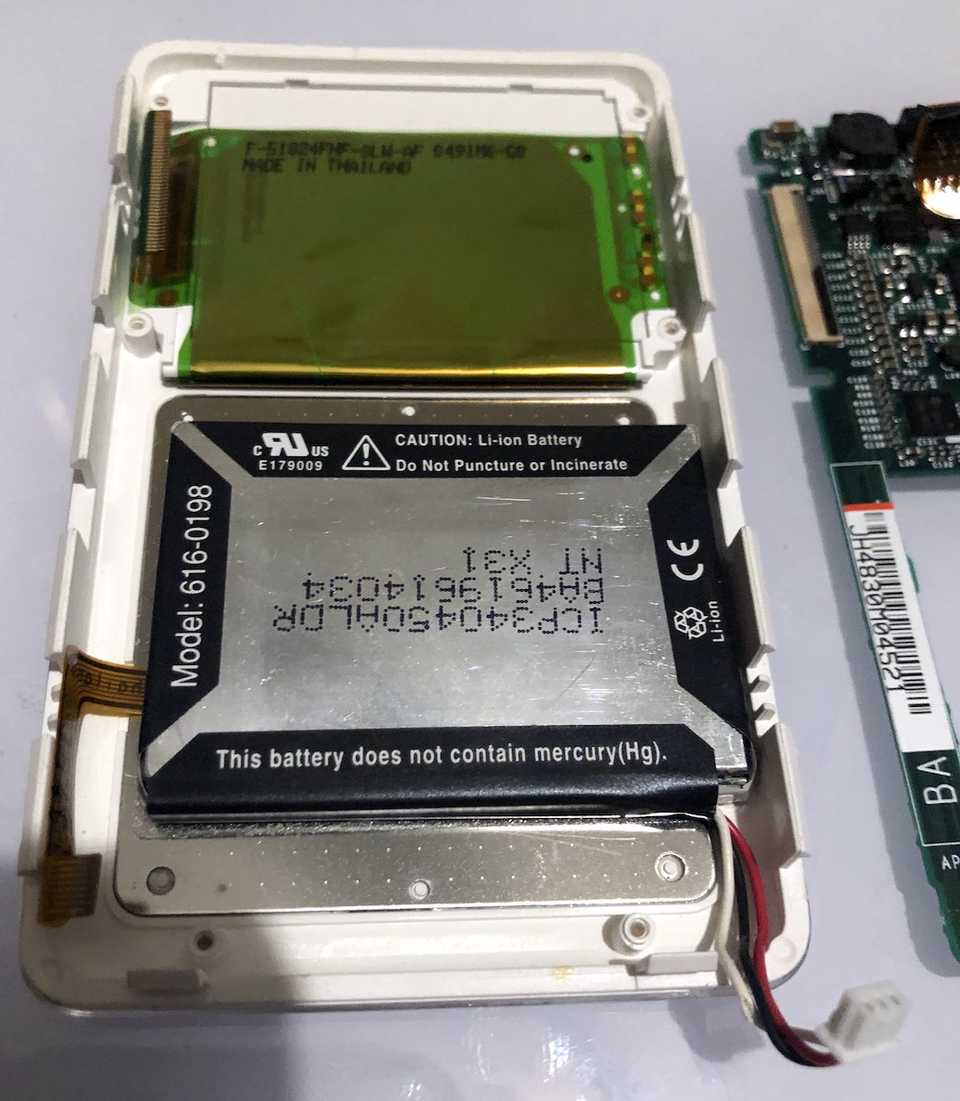
This left me with nothing but a faceplate, a screen, and the original battery adhered to the clickwheel.
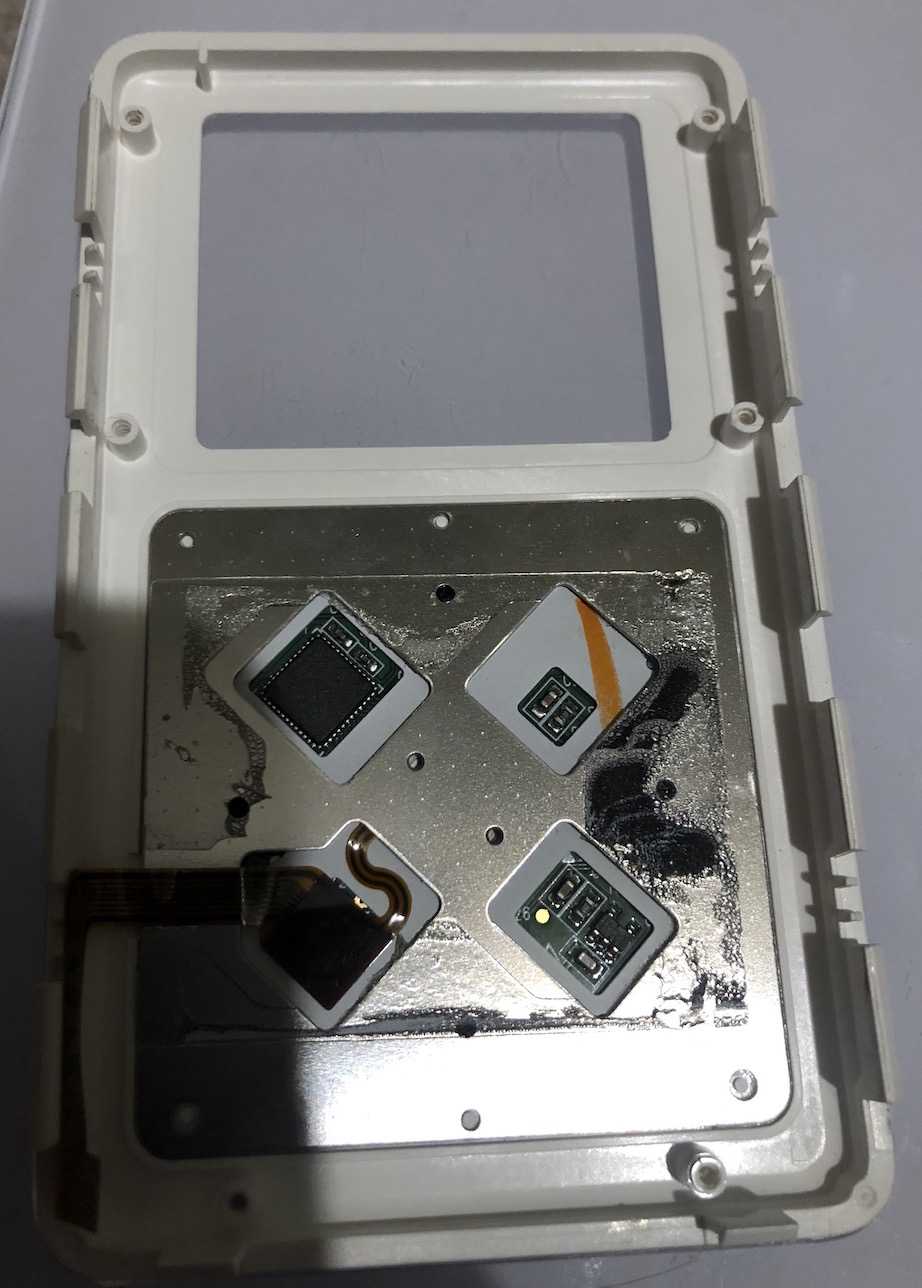
Removing the original battery isn’t too difficult, but the glue is strong. If you have trouble you may need something sharp. However with some patience, you can gently pry the battery away from the clickwheel. Be careful not to damage the faceplate in the process. I also went ahead and removed the screen, so I could clean the protective transparent layer with some rubbing alcohol.
The new battery I purchased is slightly larger at 1300 mAh, and is a perfect fit for the old one. In the future, I may upgrade to an even larger battery, but for now I just wanted to see if I could get the device booting.
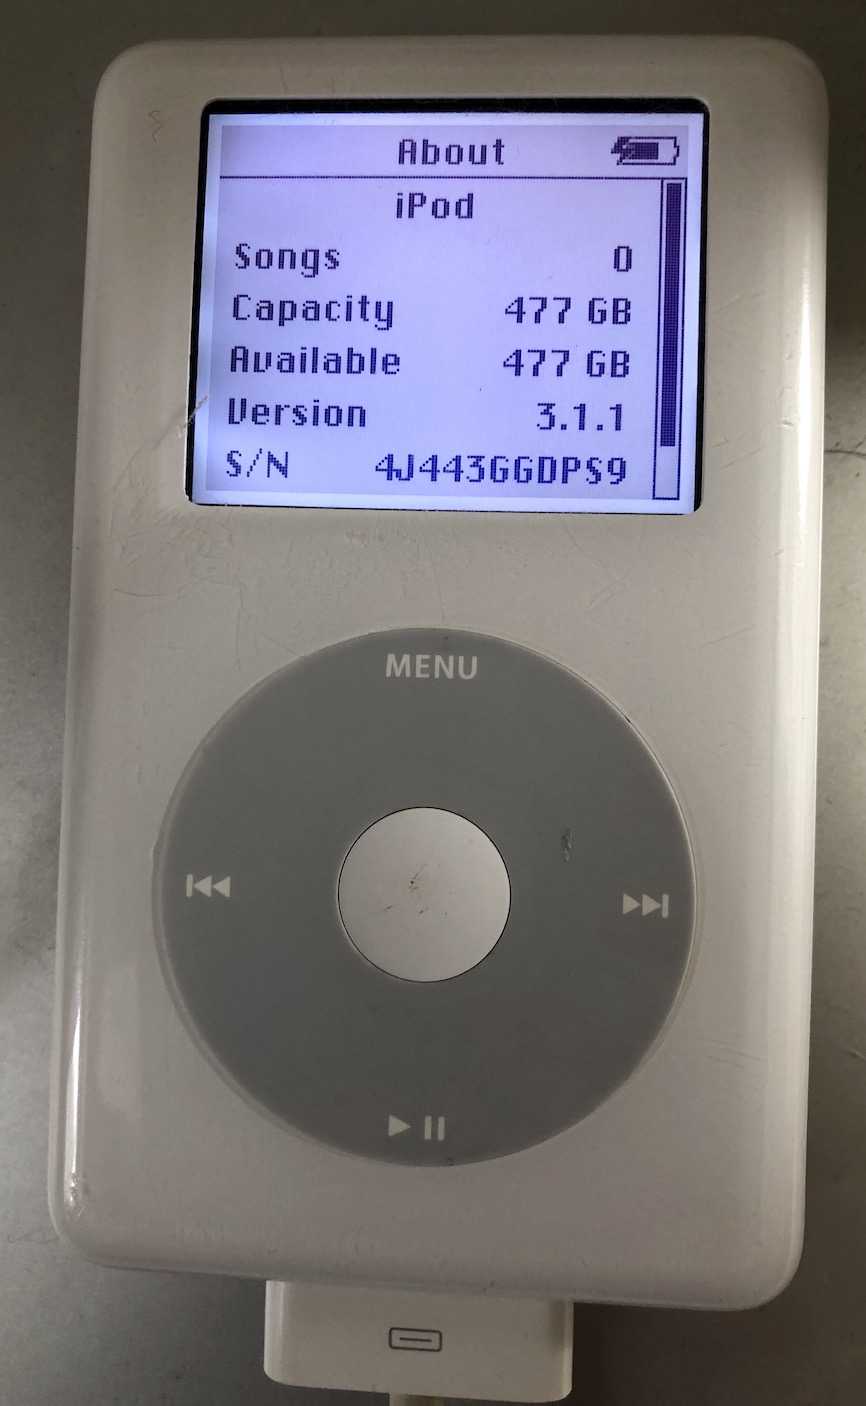
After having installed the new battery and the headphone jack flex cable, the device spun up and booted for the first time in over a decade. I then set out on backing up my music to my Hackintosh, and beginning some new research while I waited. I knew that the largest point of failure in this was the 20 year old hard drive that has a spinning disk inside of it, and should have died a long time ago. Not to mention 20 GBs of space in 2022 would just not cut it. So I set out to learn what options I had for replacing it with better storage, that wouldn’t fail on me any time soon.
Upgrade
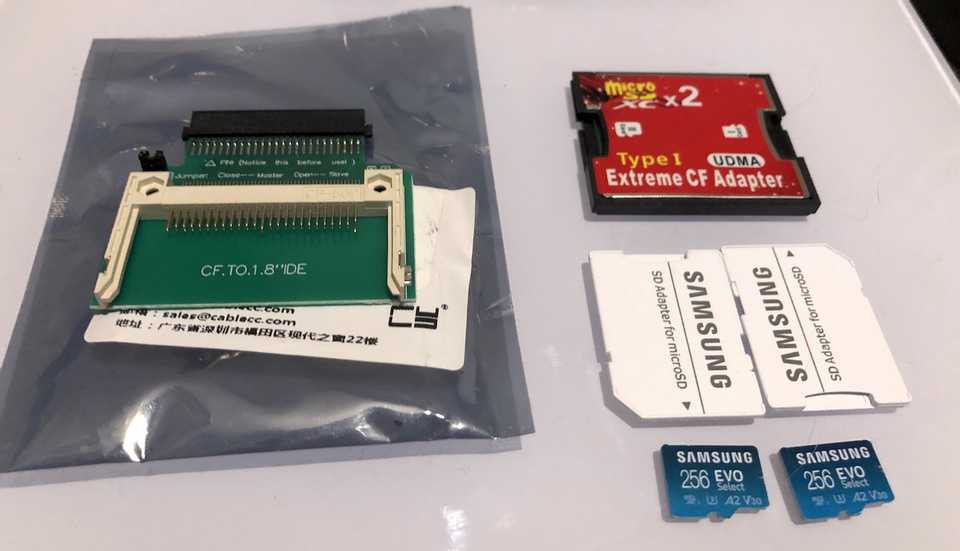
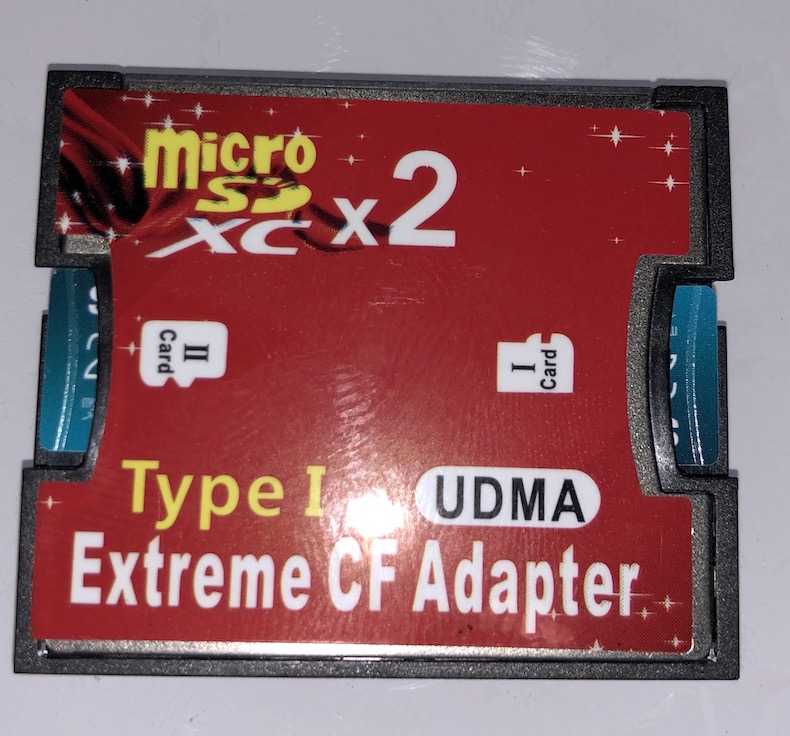
Having surfed the depths of the web, I came across a cheap but effective solution that used a Compact Flash to IDE 50-Pin Adapter. The Toshiba 20 GB hard drive was using a 50-Pin interface, so the adapter would be perfect for communicating with flash memory. Additionally I found a Compact Flash to dual MicroSD card adapter, that could work alongside the 50-Pin Adapter. I already had two 256 GB MicroSD cards on hand, so all I had to do was wait for these adapters to arrive, and then give them a try. Finding a place to purchase these adapters can be difficult, as you can imagine, these aren’t commonly purchased products. The CF adapter may be more readily available, since it has usages outside of the iPod. If you are looking for the same ones, I recommend searching Amazon and AliExpress as I found several versions of the adapters I ended up purchasing on those sites. While the adapters were shipping, I wiped and reformatted the two MicroSD cards as Fat32. Then I waited patiently for the adapters to arrive in the mail.
With the adapters finally on hand, I began replacing the hard drive with a flash storage solution.
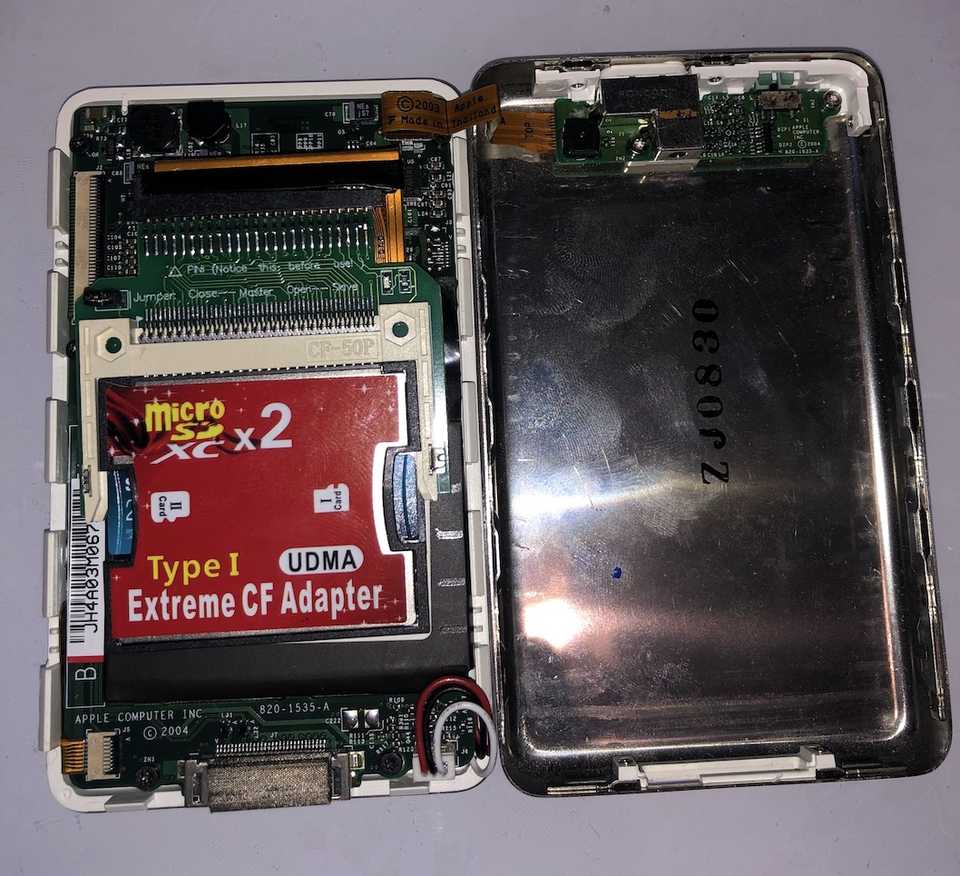
I started by inserting the two 256 GB MicroSD cards into the Compact Flash adapter.
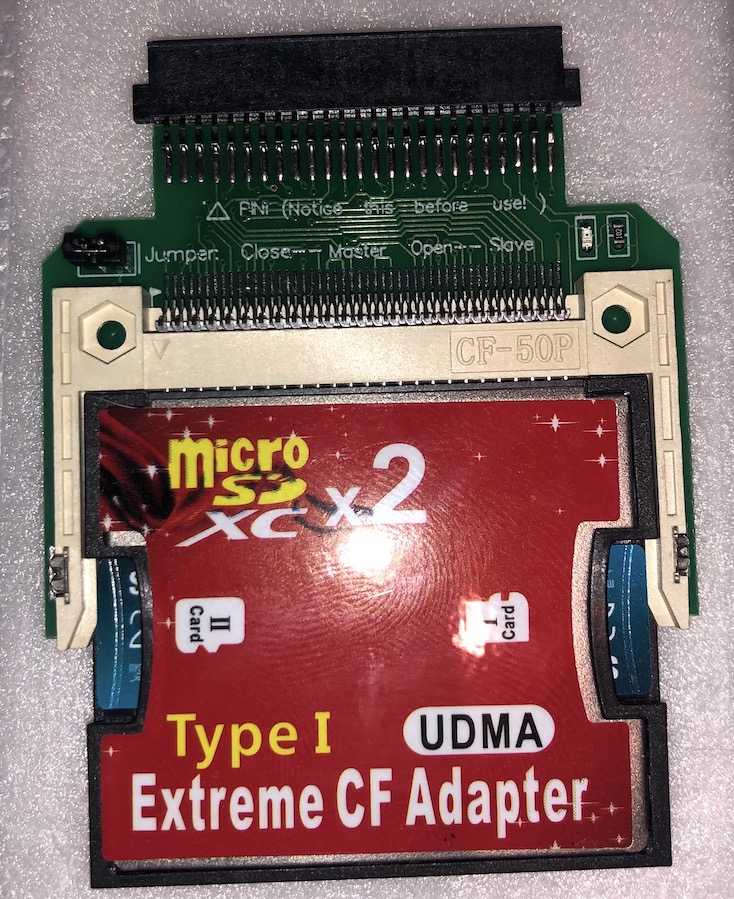
Then I attached the Compact Flash adapter to the 50-Pin Adapter.
If you look at the text written on the PCB of the 50-Pin Adapter, you’ll notice that it has a little arrow pointing at PIN 1, and says “Notice this before use!“. This is very important, as this is the most left PIN we want to use when installing this in the iPod. The adapter also came with a jumper, but fortunately mine was already configured how I needed it. Installing this monstrosity into the iPod wasn’t the easiest, as it doesn’t fit perfectly, the hard drive has a little hole that a tab enters to add some strength between the original flex cable and drive. This tab gets in the way of the adapters. You can shave this down with an X-Acto knife, or just force it, it’s entirely up to you.
Later I would add some protective layer such as foam padding between the adapters and the motherboard for extra care, and to prevent potential rattling while the device was in motion. With everything installed, I could factory reset it and give it a boot.
If you have an old iPod of your own, and would like to use a less hacky approach, instead of so many adapters, iFlash has a great product here, that supports up to four MicroSD cards simultaneously. The adapters will certainly be cheaper, but they are a less robust solution than what iFlash has to offer. While it’s likely possible to get a terabyte running with this method, it’s questionable whether the iPods software will support it, instead you may find that Rockbox is the only way to utilize flash storage sizes of that caliber. Keep in mind, if you do go this route, and you have a 4th generation iPod like me, you will need this adapter.
Software
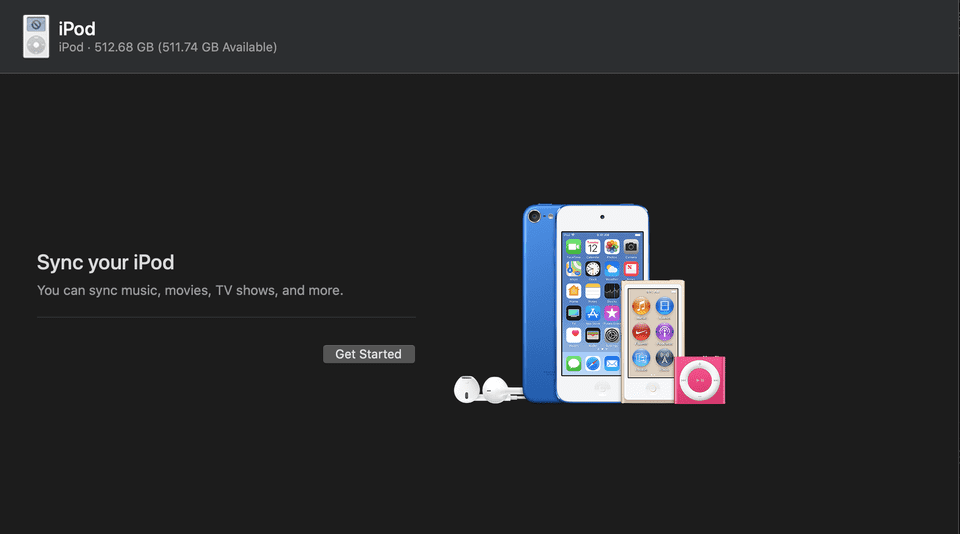
Surprisingly, Apple Music (RIP iTunes) actually works out of the box with this device. Finder even has a built-in integration for syncing with iPods, and it works similarly to what you would expect when you plugin in an iPad or iPhone. The actual process of managing or syncing songs or playlists with the iPod hasn’t really changed at all. So it’s full of quirks, and unless you have a lot of Apple owned music, you may want to try a different approach.
For my needs, Apple Music worked just fine however. I was able to reset the iPod to factory settings, and then begin restoring my old music. I was pleasantly surprised by how quick it had backed up my old 20 GB drive, and now restoring was even faster. Back when the iPod was released, I recall it taking hours to sync. I am curious what changed that made the backup take only 15 minutes today. The restore was ludicrously quick, but I imagine that had something to do with using flash memory instead of a spinning disk drive.
If I didn’t get Apple Music working, I would have setup Rockbox, an alternative firmware for the iPod, instead. This way I could manage all the music and content on the iPod, like a flashdrive. One of the cool features of Rockbox is that it has themes, even for the greyscale iPod 4G display. This theme in particular I found to be pretty intriguing. I may experiment in the future with Rockbox, but for now I am happy using the OG firmware.
Now that all my original music was restored, and I had a lot of extra space, I looked into migrating music off of Apple Music and Spotify. I found an incredible command line tool for spotify called spotdl. This allowed me to easily download music I have on my Spotify account by identifying the music and downloading it from alternative sources. If you want to keep your playlists, you’ll have to do that by hand, as transferring playlists from Spotify to Apple Music is not trivial. Some paid services do exist, but it wasn’t worth the effort in my opinion. Once I had downloaded all the music I wanted, it was as simple as dragging and dropping the files into the Automatically Add to Music directory in my users /Music/iTunes/iTunes Media/ directory. After a short sync, everything was loaded on my iPod and ready to go.
What’s next?
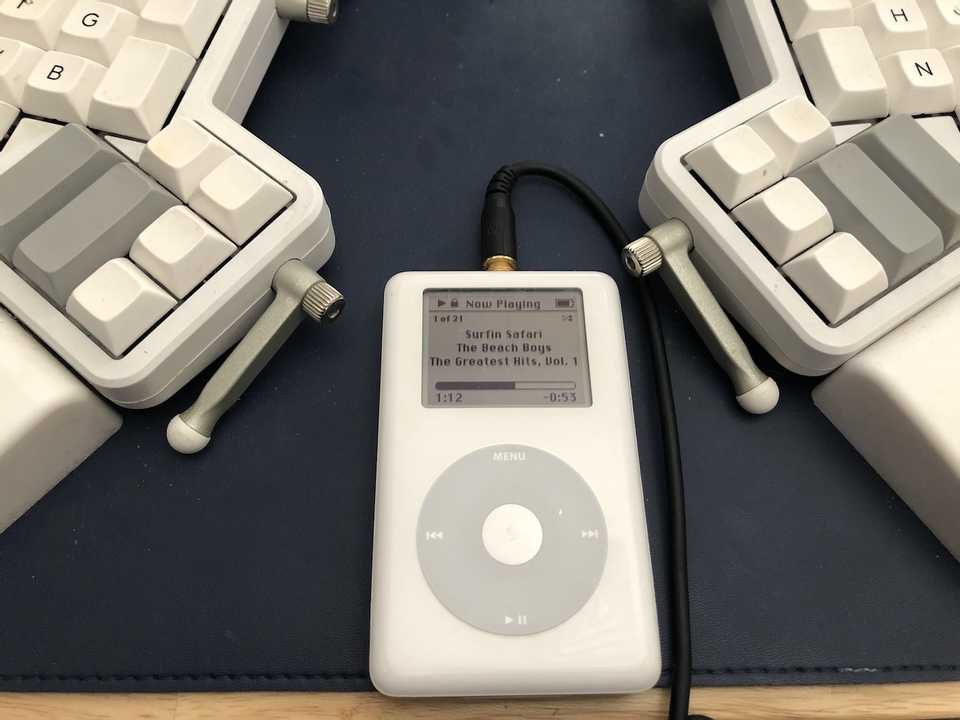
This project was enjoyable to work on, as it allowed me to rediscover a lot of music that I had otherwise forgotten about. It is not every day I can open up a box of electronics from my childhood, and restore them to a healthy state. Sustainability is something I truly care about, so keeping my old electronics out of a landfill is important to me. I also learned a lot about the inner workings of an iPod, something I haven’t thought about in over a decade. In the future, I may write more on this if I get the itch. Perhaps I will expand the battery capacity even further, replace the faceplate with a new look, or attempt to restore a broken iPod 5 with video support. For now I will just be listening to some beach boys while I program.
